/image%2F1896381%2F20151209%2Fob_cb2b49_obd365-com.png)
Car model and year: 2015 Maserati GranTurismo Sport
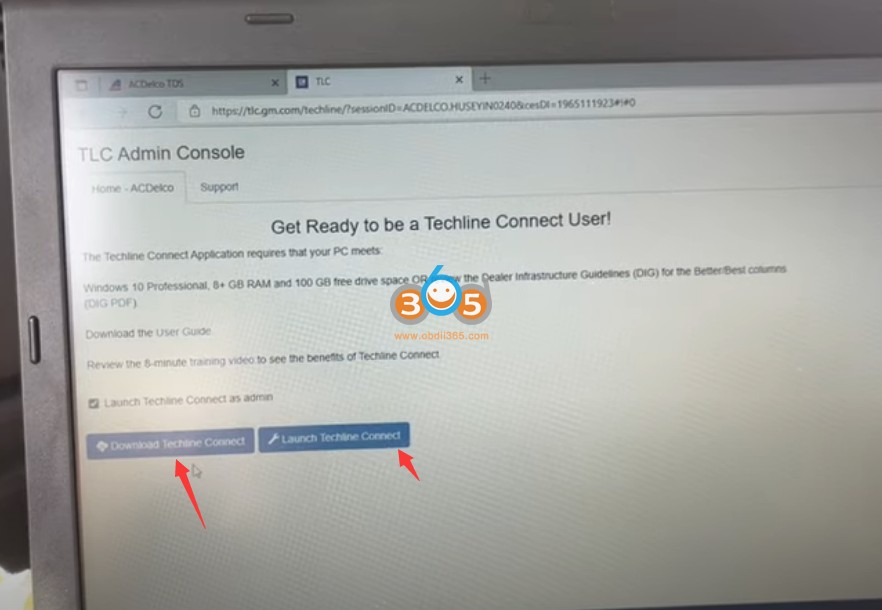
Purpose:
1.Read and reset codes
- Do the Service Required reset (typically done after an oil change / service)
OBD2 Scanner / Reset Tool that is tested working:
- Basic ELM27 OBDII device which links to Android or iOS apps: not ideal
Fine for resetting engine codes. No use for the service
- Snap-On: not show Maserati
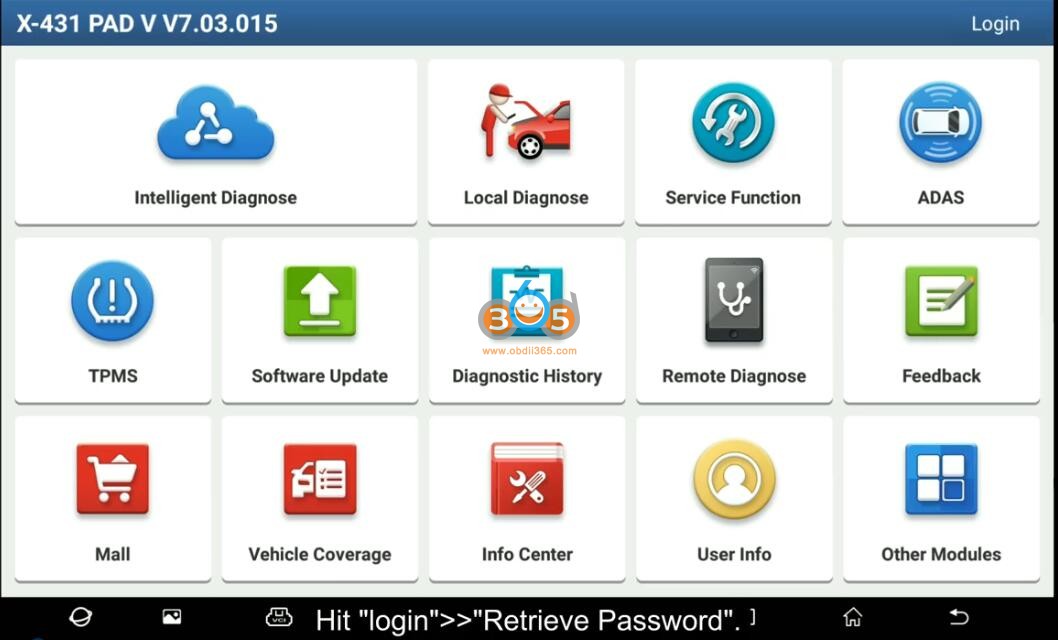
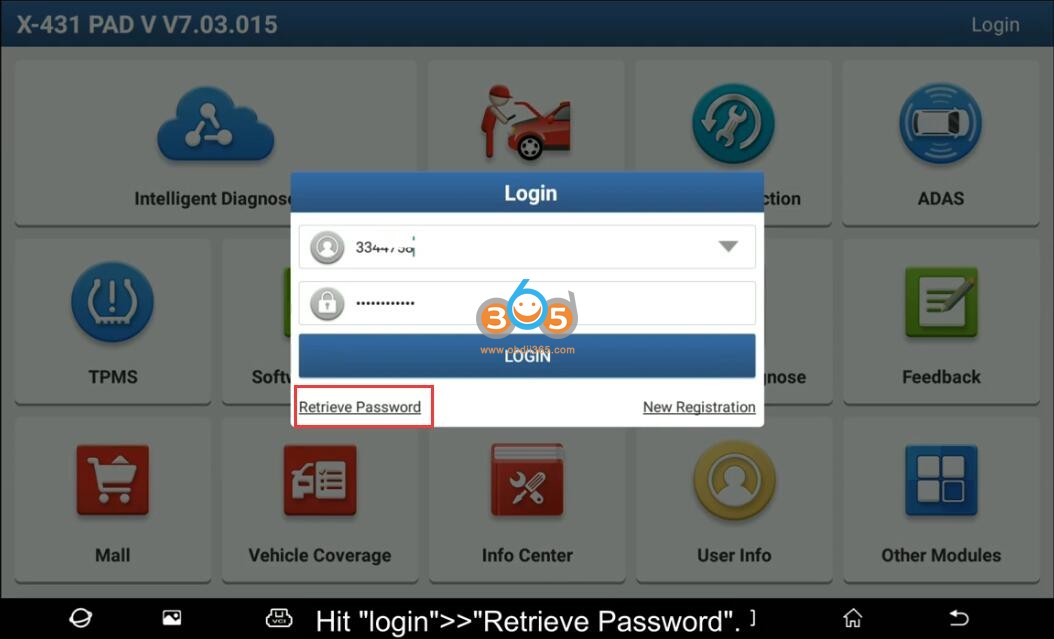
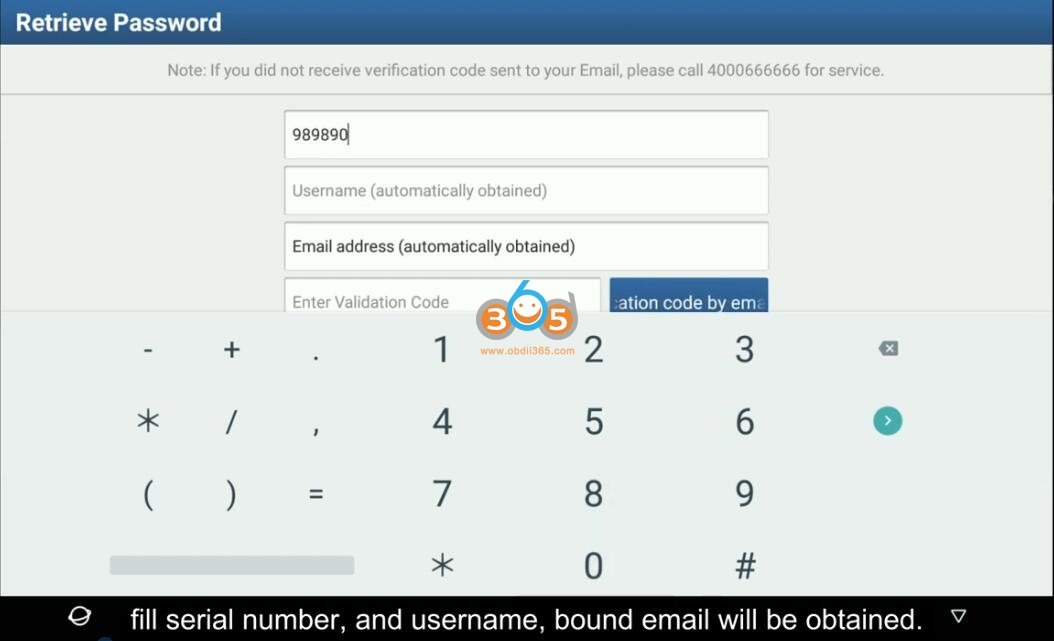
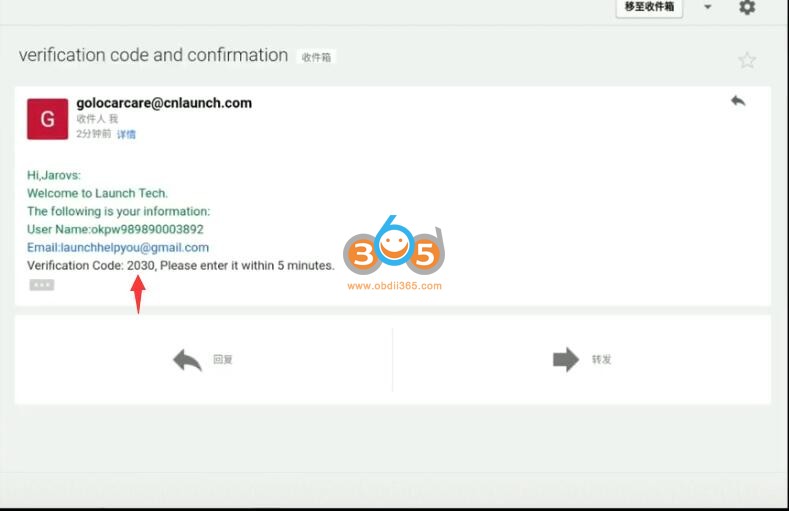
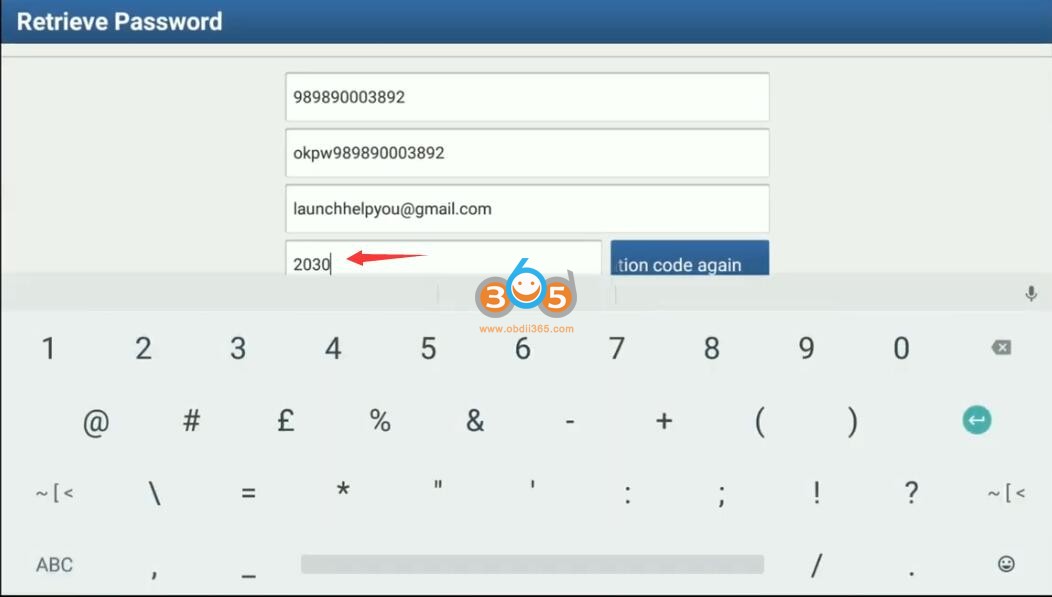
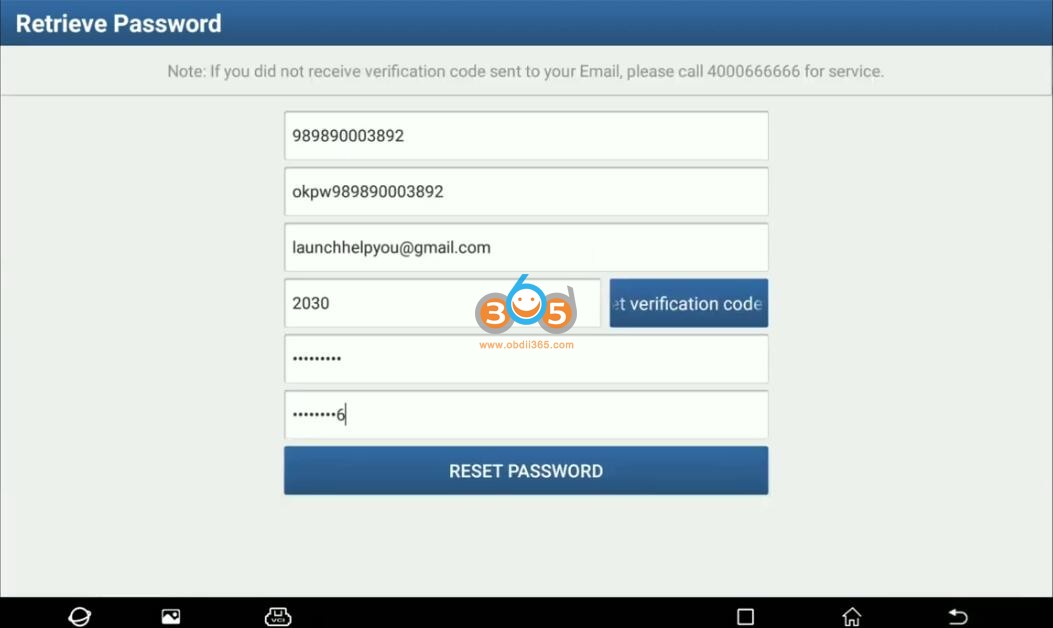
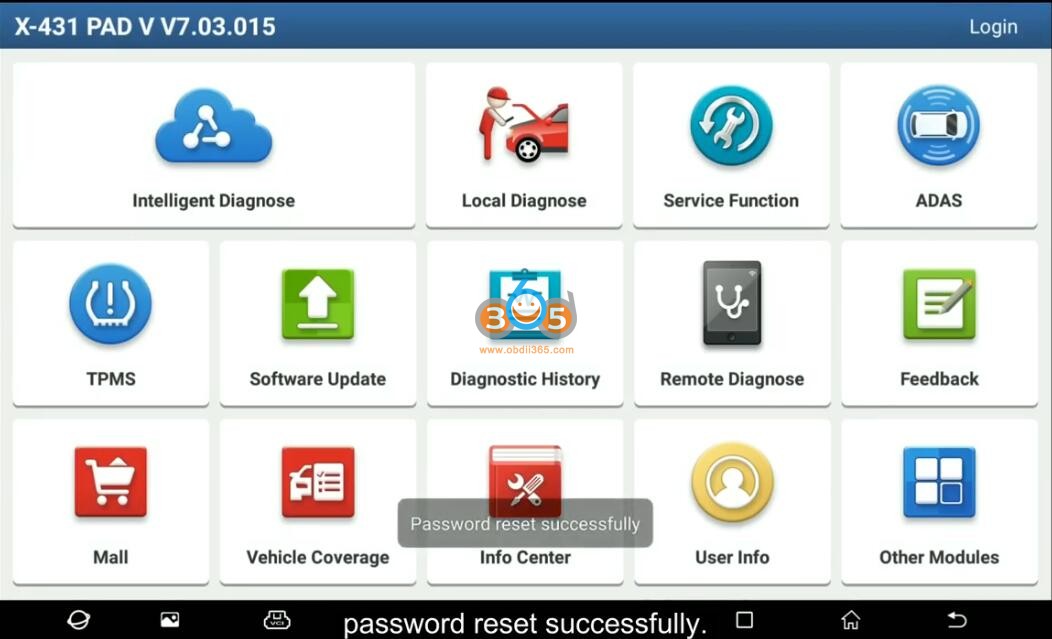
- Launch X431 scanner: yes
Had Maserati and they were able to reset the “service certificate expired” after the oil change.
- OBDSTAR X200 Pro2 will do it all day and twice on Sunday.

Read this article: OBDSTAR X200 Pro2 -Best Maserati Oil Service Reset Tool
- Autel TS608: Yes
I can confirm the autel TS608 will access all modules, reset the service light, and access the TPMS module and clear those codes.
Only issue is its about $500.
6.Autel MaxiAP AP200 works directly with your phone, is easy to set up and it gives you ALL the OBD info taht dealers have access too for 1 vehicle of your choice for FREE! I naturally chose the GranTurismo and have reset my maintenance light on my 13 and my buddies on his 16 without issue. This will even scan all your systems and tell you if operating properly. The hardest part of the set up is getting the European All for it, Wich was just simply downloading it

- Foxwell NT530: yes
If you want a more extensive scanner, I have the Foxwell NT530 that works well on mine.
Many people use a Foxwell as well; works for codes and service.
Take this user’s experience for example: I bought the Foxwell NT530 and it works well on the individual control module scans for the most part and it resets the maintenance items such as oil reminder etc.
Finally update!
Hi. I am really happy with the Foxwell NT 530. Foxwell is out of China so response emails can be delayed but they have been great. Their engineer sent me a number of updates and the scanner scans and resets virtually everything on my 2015 GranTurismo Sport. Very pleased and great value, low cost.
I ended up buying the Maserati software with the scanner and added GM software as well as I have a 2017 Corvette Grand Sport and Silverado as well so it works for all Maseratis and all GM’s now.
Enjoy!