

/image%2F1896381%2F20151209%2Fob_cb2b49_obd365-com.png)
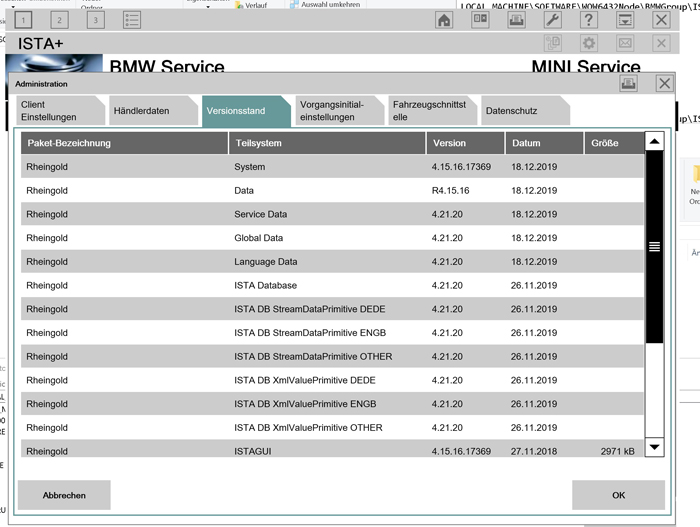
How to Make old BMW ISTA-D work with newer Database?
Is it possible to use an Older ISTA-D for example 4.15 with an newer DB 4.20 ?
its possible, you have to make a new key in registry:
[HKEY_LOCAL_MACHINE\SOFTWARE\WOW6432Node\BMWGroup\ISPI\Rheingold]
"BMW.Rheingold.Database.CheckAppVersion.Enabled"="False"
and change product version in registry from your installed new standalone ista:
[HKEY_LOCAL_MACHINE\SOFTWARE\WOW6432Node\BMWGroup\ISPI\ISTA]
"ProductVersion"="4.15.16.17369"
look here:


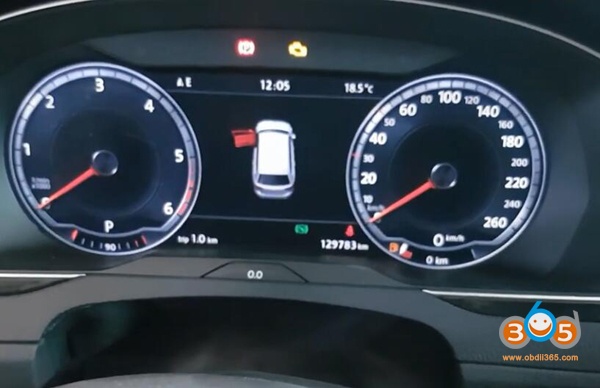
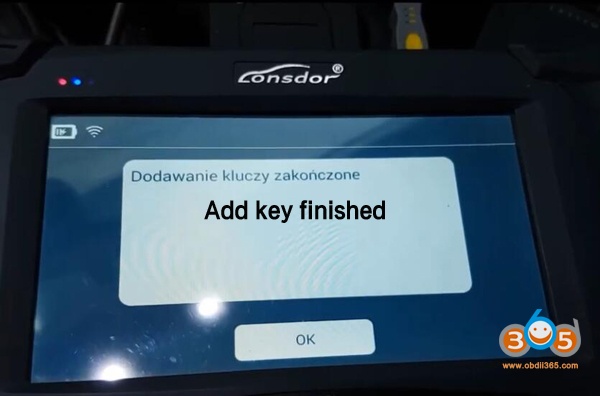
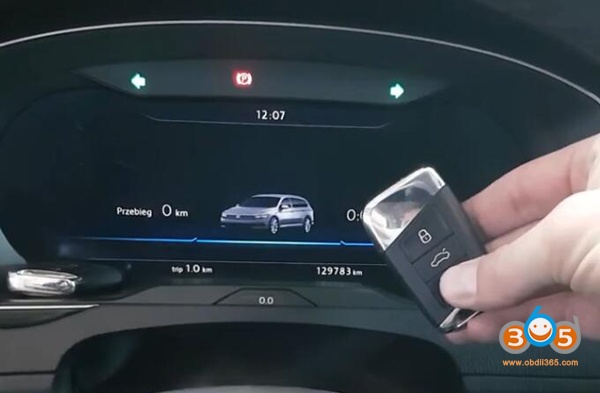
How to Program VW Passat MQB Keyless Virtual Cocpit via OBD

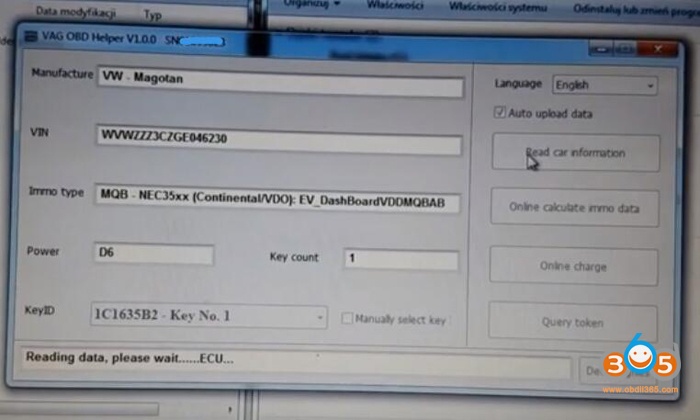
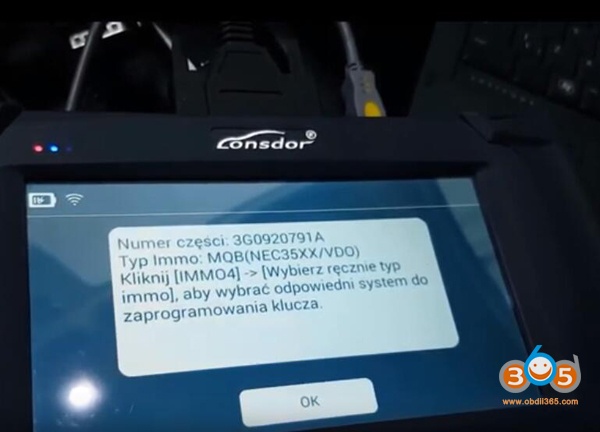
Detect vehicle information, VIN, IMMO type, Key ID etc
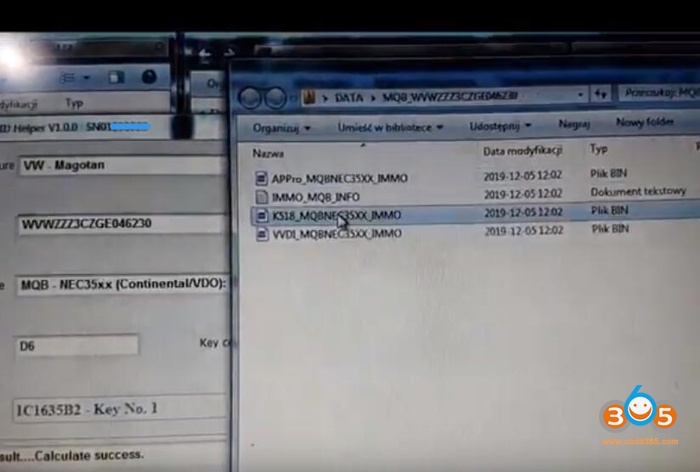
Read MQB NEC35X immo data success and auto saved to default folder

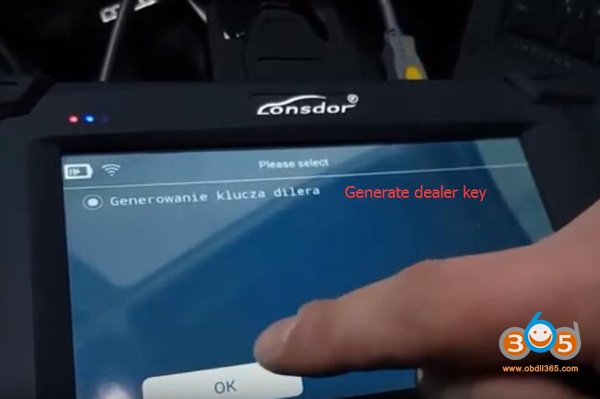
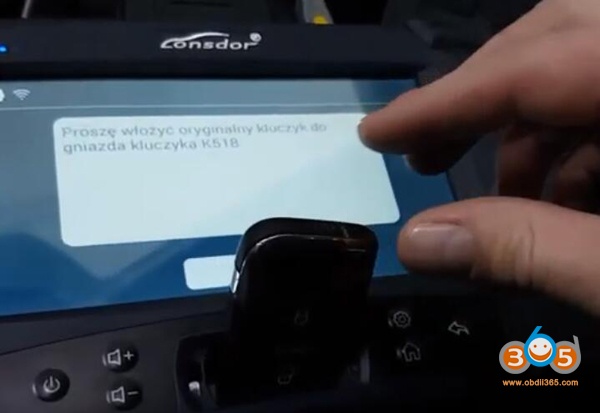
The Immo data can be used to generate key with K518 key programmer
Copy and paste the NEC35XX immo data to K518ISE “customfile” folder
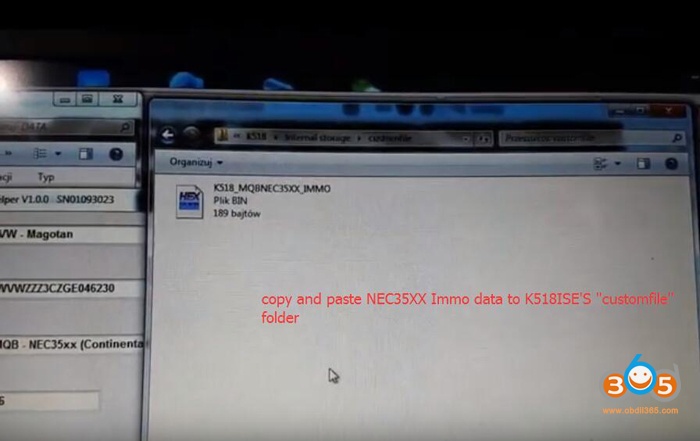
Unplug OBD helper cable and connect K518 with vehicle
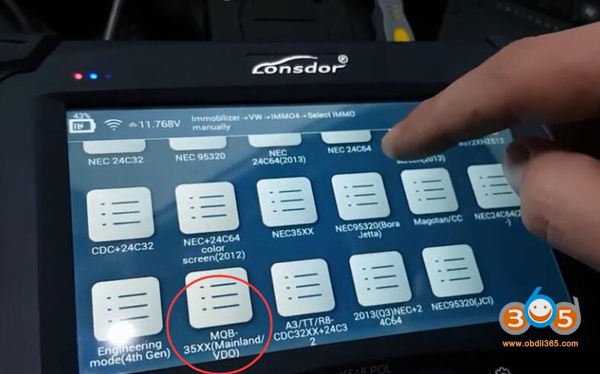
Identify IMMO type MQB BEC325XX/VDO IMMO4








V3.0.2 CGDI BMW adds F series 6HP EGS Erase and Reset
There is an new update available in CGDI Prog BMW key programmer.
CGDI BMW V3.0.2 New
(2019.12.13)
1. Added BMW EGS Change(F Series-6HP) [Erase and reset]
2. Added BMW E Series Program [Advanced programming]
3. Optimize CAS4 Key Match, FEM/BDC Key Match, ISN Show window
4. Fix user registration issues
CGDI BMW now supports BMW F/G series 8HP and F-series 6HP EGS change,erase and reset function.
To enable CG BMW EGS reset function, you need to activate related software license, check and order here:
CGDI Prog BMW EGS ISN Clear and Synchronize Authorization

Q: Will CGDI BMW program used EGS 8hp70 e70 x5 BMW and E series EGS 8hp?
A: Yes. it will.
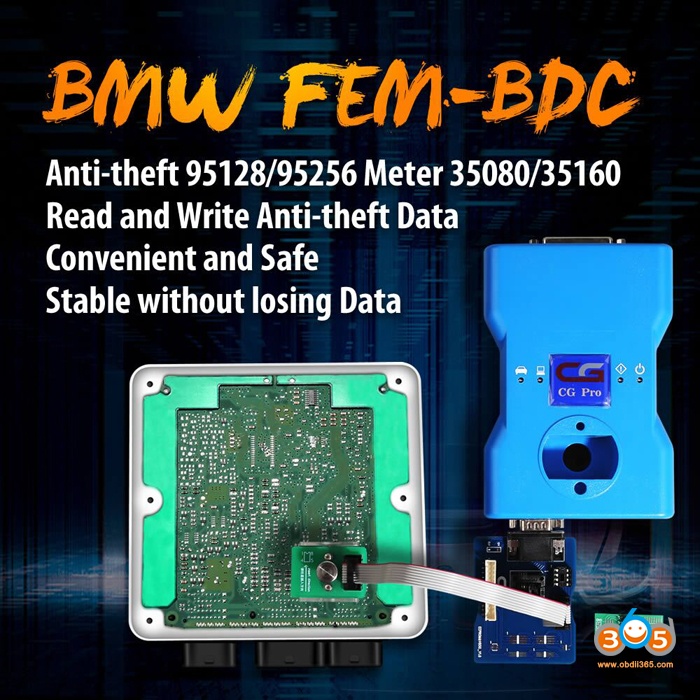
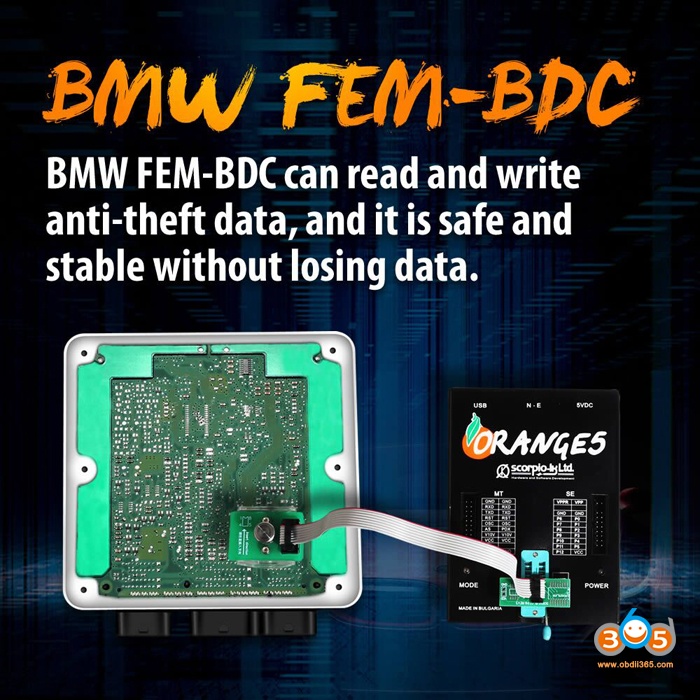
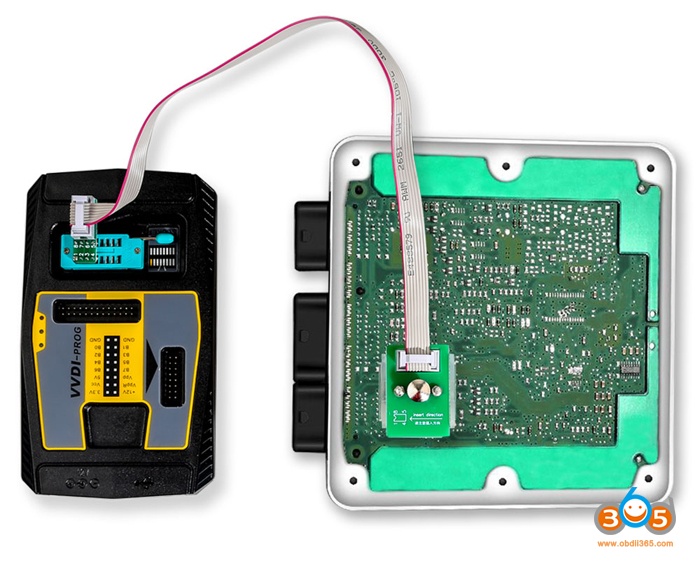
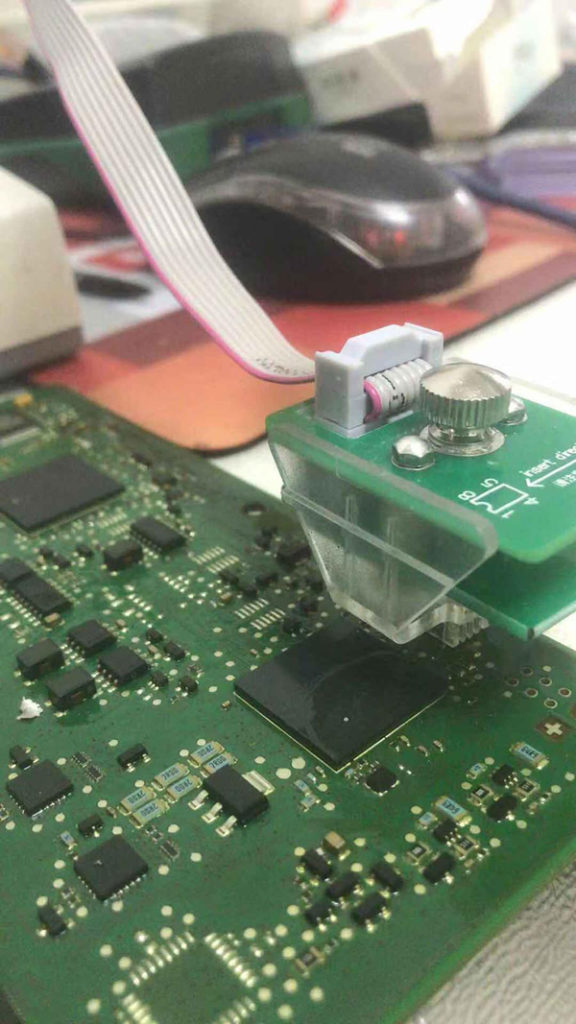
How to Read BMW FEM 95128 95250 No Soldering
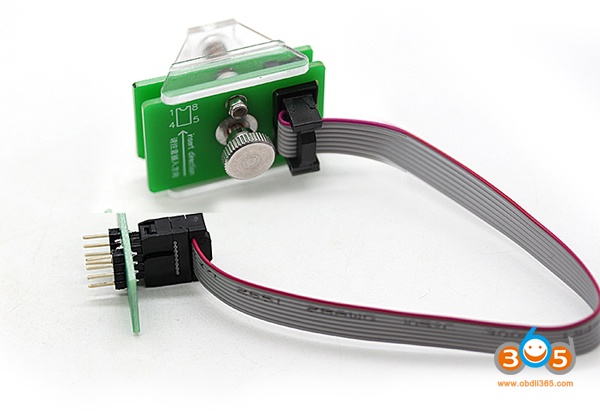
- UPA and FEM-BDC 8Pin Adapter

- CG Pro and FEM-BDC 8Pin Adapter
- Orange 5 and FEM-BDC 8Pin Adapter
- VVDI PROG and FEM-BDC 8Pin Adapter


Autel IM608 Read Mercedes W204 Password in 3 Minutes
New feedback: With Autel IM608 last Update Mercedes Benz Software do all key lost W204 C220 CDI with EIS W207 type succeed computing password in 3 minutes with G-BOX 1 and key programed correctly!
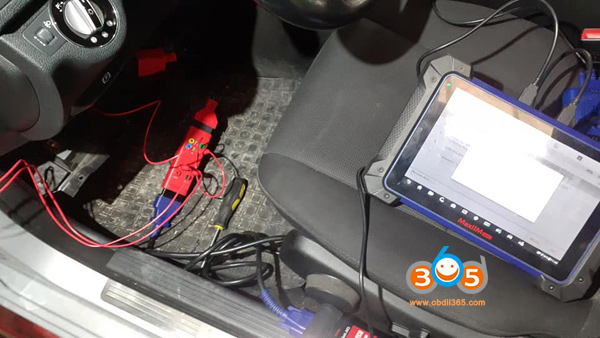

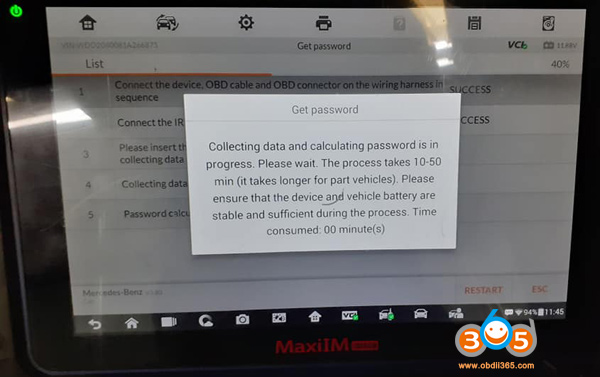

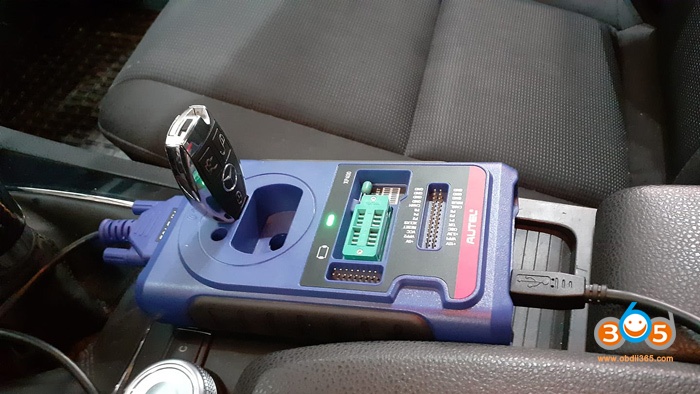

Autel G Box adds Many Functions and Models in Dec. 2019
Here's the customer new feedback on Autel MaxiIM IM608 Benz software update v3.80.
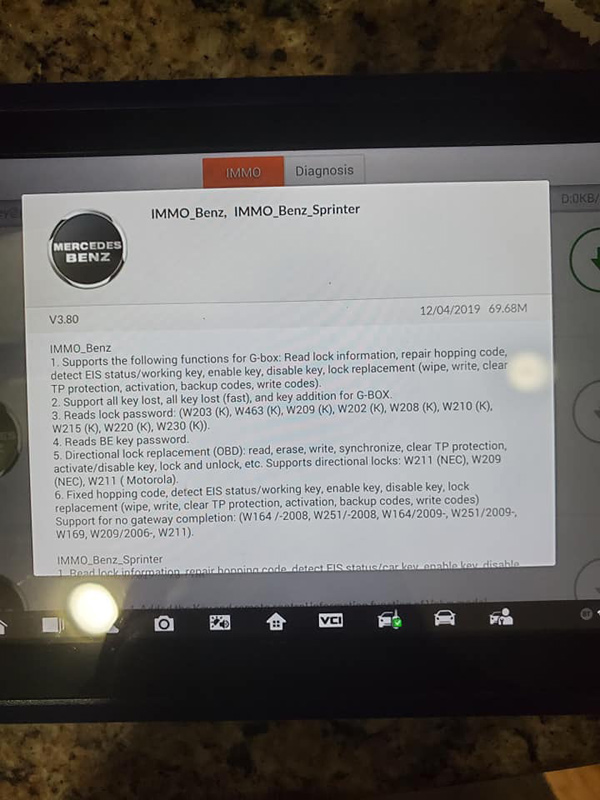
Autel IMMO Benz Sprinter Update V3.80 (04/11/2019)
IMMO_Benz
1 Supports the following functions for G-Box: read lock information, repair hopping code, detect EIS status/working key, enable key, disable key, lock replacement (wipe, write, clear TP protection,
ativation, backup codes, write codes)
2.Support all key lost, all key lost (FAST) and key addition for Autel G BOX
3.Reads lock password (W203(K),W463(K),W202(K),W208(K),W210(K),W215(K),W220(K),W230(K)
4.Reads BE key password
5. Directional lock replacement (OBD): read, erase, write, synchronize, clear TP protection, activate/disable key, lock and unlock etc. Supports directional locks, W211(NEC), W209(NEC), W211(Motorola)
6. Fix hopping code, detect EIS status/working key, enable key,disable key, lock replacement (wipe, write, clear TP protection, activation, backup codes, write codes)
supports for no gateway completion(W164/-2008, W251/-2008, W164/2009-, W251/2009-,W169, W209/2006-,W211)
Mercedes update Feedback from Mr.Widlak.
Just finish testing 3 EIS AKL (all keys lost) with G-BOX:
W210- FAST MODE 4 MIN
W211- FAST MODE 23 MIN
W209- NORMAL MODE 51MIN (did not communicate. under fast mode)
So looks like Autel engineers fix some issues.
I will check some OBD all keys lost soon.
I hope that will help


Ediabas/ISTA+ Voltage Control V3 Download + Installation
Node made a small utility suite which allows manual control of voltages which Ediabas sees from the interface such as OBD or CAN. It also includes additional ISTA+ support so it should work with ISTA as well. It’s not dependent on INPA or ISTA versions and should work with any version of INPA, ISTA+ and others as well as it integrates between ediabas and cable driver and is completely transparent to high level software. Additional support for ISTA+ should work with any modern version as long as internal code will not change much. My aim is to make it so all ABLs and other procedures work flawlessly.
1. If you are using STD:OBD rename existing obd32.dll to obd32.ebas.dll. Users of other cable types rename respective dll (for example STD:CAN users rename can32.dll to can32.ebas.dll).
2. Extract the downloaded file.
3. Copy included obd32.dll to Ediabas\Bin. For other cable types rename it to respective name first (for example can32.dll).
4. For ISTA+ only: copy included NodeISTAVoltageControl.dll to Ediabas\Bin folder within ISTA+ installation.
5. For ISTA+ v4.05 (and above) only:
a) replace existing IstaOperation.exe within ISTA+’s TesterGUI\Bin\Release folder by included one (from respective folder based on ISTA+ version).
b) run included AllowFakeISTAOperation.reg file (choose x86 or x64 depending on your system being 32 or 64 bit respectively).
UPDATE V2.0:Version 2.0 of this tool has been released.
1. It now checks the actual interface type setting in ISTA during runtime, so if you switch from Ediabas to ICOM it will stop interfering and resume operation as soon as interface type is set back to Ediabas.
2. It now supports K+DCAN cables which have an ability to detect clamp states (probably most higher quality cables). To use this feature control application should be closed. It will then read actual clamp states and update ISTA voltage states accordingly without any manual actions required. Starting control application will switch the operation to manual control. Closing it will resume automatic recognition.
1. Control application can now be minimized.
2. Support for ISTA+ v4.05 (and hopefully above).
P.P.S. This utility works without any issues with original ISTA+, standalone not necessary.

How to Program Benz Atego Truck Key by Dump
Model: MB Atego truck
Megamos 13
93c86
Type : Atmel 93c86
Ym15 10cut
Device to use:
Tango/Orange 5 to read dump
VVDI Super chip vvdi key tool
Condor xc mini plus
Situation : all keys lost

Tips:
Tango asked to save new dump
I saved then compared by orange.
Then no new dump created.
And after programming the transponder
You can “explore key” by tango
To check if the transponder is bind with the dump or not...
BMW Rheingold INPA ISTA vs. Carly
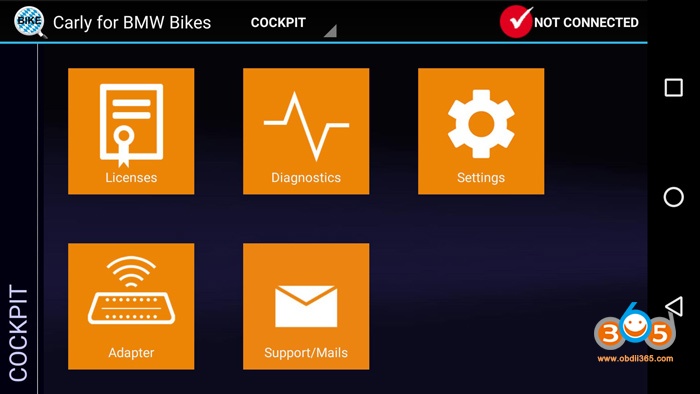
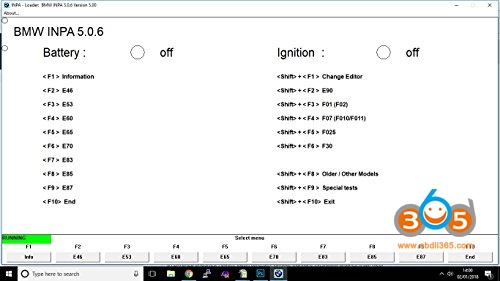

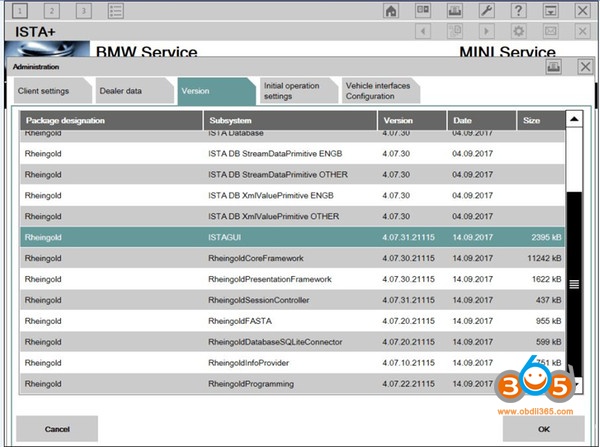
Ista-p is THE programming tool.

Scorpio-LK Tango and FLY TM100 - Both Are Valuable?
Here, have collected how people think of key programmers Scorpio Tango and Fly TM100.
- Tango is used for key making via eeprom & transponder generation
Maybe Tango is not in direct competition with Abrites. Tango is mainly used for key making via eeprom and transponder generation whereas Abrites is mainly for keymaking and other functions via OBD. The closest point they meet is with the Tag key tool been used as a eeprom aid.
Now it could be said that Tango could kick the ass of Tmpro, ad900, zed bull, and miraclone. but others would beg to differ.
I would say that Abrites is now becoming big competition to AD 100 Pro.
Tango kicks Abrites ass in RELIABILITY, QUALITY and customer support with ease. Obviously it cant do nowhere near as much as Abrites, BUT atleast it works first time and everytime and you can trust it UNLIKE Abrites
- Each programmer has its limitation
Tango, TMPro, Tag keytool, Arbrites are complementary.
Each has its limitations and it is designed in such a way by a team of designers.
And team designers come from the same group.
If you complain why tango does not support the type transponder xxx, then tmpro is the solution and vice versa.
So there will never be one tool that spans all the problems.
- Two Tango versions in China, FLY and Skorpio-LK
I have Tango from China upgraded to latest software on Scorpio-Lk Tango web-side no problem , Great Tool !
but you have two version available from china, the cheaper version about 200USD is clone/copy rubbish and will not update on Skorpio-LK ......
Original Tango price- over 1000USD and all is working fine you must register on Skorpio-LK with in one month of purchase and if you don,t connect to internet/server tool will lock itself , you can buy extra modules from Skorpio-LK no problems.
4.
I have tried new Fly tango V1.111, it does not work. Before update it worked little bit. For example I could red Skoda 1998 iD33 key. But after update nothing works. Except for documentation, that works. I am using it on windows XP, no yellow flags.When I check Fly tango software says everything is ok, but last line says some errors. I contacted Fly company, but they are not interested, probably because they know it does not work. Any suggestions, I be grateful. I think I have to buy original Tango. I was misslead because some guys on DK said it worked like original, but no updates. FLY TANGO V1.111 DOES NOT WORK
- Had a win with TM100
So I had a bit of a win today with this Tm100.
I can say that Fly 100% deletes your serial number, which inturn makes the software pop up a window to update etc as other people have said & posted screenshots of this.
After patching this little problem I was able to use the Tm100. but it's, not a permanent fix.
I'm actually very dirtly about this & I believe FLY should not kill peoples programmers even if it's a clone, which this is not a clone.
I'm waiting for an email back from them, & I will keep trying to contact them to fix this TM100.
But if I don't get a response, I will not stop reverse engineering this product until I have a 100% fix in which I will make sure other people don't have the same problems I'm facing.
You can see the serial number is all "000" & when I put back the serial number in the software I can read an H chip etc so it's working as the example etc.
Here are some screenshots.
- TM100 is bad
Tm100 was the worst equipment I had.
Biggest hit by the Fly team.
In addition to the equipment we lose purchased licenses.
Fly does not respect who bought their products.
Fly is very dishonest.
7.Bad experience with FLY TM100
Firstly why would FLY sell a Tango "Works just like original" for only $800 with full functions and still sell their TM100 over $2000 for full functions? Doesn't that tell you something? Because obviously if the Tango worked just like original and you got free updates and whatever then who in their sense is going to buy the TM100?
With regards to the SDD+, I asked them how much and they said Free only need to pay shipping. I asked how much shipping and they quoted a massive $67. So I said ok, rather ship to my agent in Shenzhen which is very near your office and MARY says $50 and the other Fly sales person says $25. Either way it's still alot. I agreed on the $25 and they sent me a paypal invoice of $27 and on there states
the goods ----SDD+ is free for the customer 27usd is only for the shipment or the delivery so we will refuse to accept any dispute of refunding"
So are these SDD dummy or faulty units or what and why the crazy shipping amounts? I mean shipping inside shenzhen isn't more than $5. So is it really free or they cleverly selling you some expensive paper weights?
Conclusion:
It’s hard to say which one is the best, the TM100 is a China brand, the Tango is a foreign brand, their functions are basically the same.
The TM100 functions: cover,read,write and generate transponders;read kilomoters,VIN,and transponder type;PIN calculation,62 key maker modules.
The Tango functions: cover,read,write and generate transponders;read kilomoters,VIN,and transponder type.
TM100 Transponder support: Philips transponders, Temic transponders, Megamos transponders,Texastransponders
Tango Transponder support: Philips transponders, Temic transponders, Megamos transponders,Texastransponders,Atmel
Note that, here i mean the original from Scorpio, not the cheap one from FLY
Maybe you would save some good $$$$ if you just bought the clone TM100 from the FLY company. But it has many bugs and sometimes goes faulty for no reason. Send it back for repair but a few months later, probably DEAD again. They cannot help resolve any bugs or issues with their devices
In summary, Tango is more stable than TM100.
Perhaps TM100 remains to be perfect.
but if you don’t venture to buy a new product, chose Scorpio Tango instead.
3 Steps to Solve 2M2 Magic Tank Breaking Cutter Probe Problem
Loosen the screws and disassemble the cover of the 2m2 machine


Check the line, plug and socket to see whether it is connected


2). If lightning symbol does not appear, there is something with the sensor touch. Send an video to obdii365.com to analyze.
Email: Sales@OBDII365.com
Skype: OBDII365.com

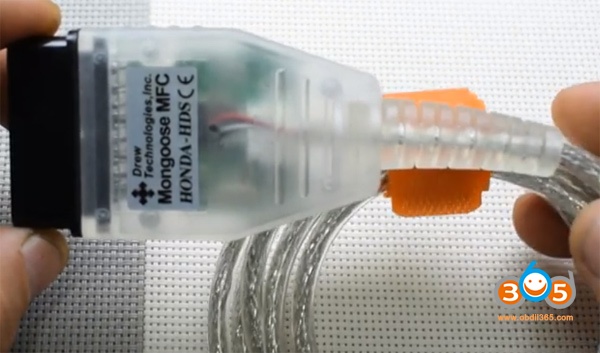
How to install MINI VCI Honda HDS on Virtual Machine
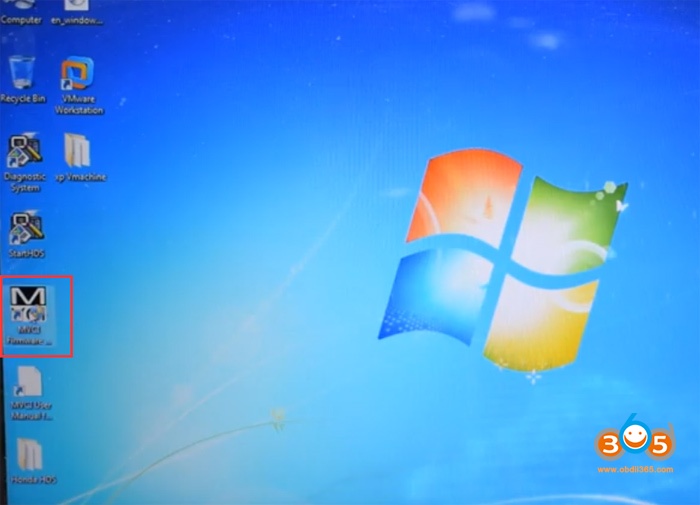
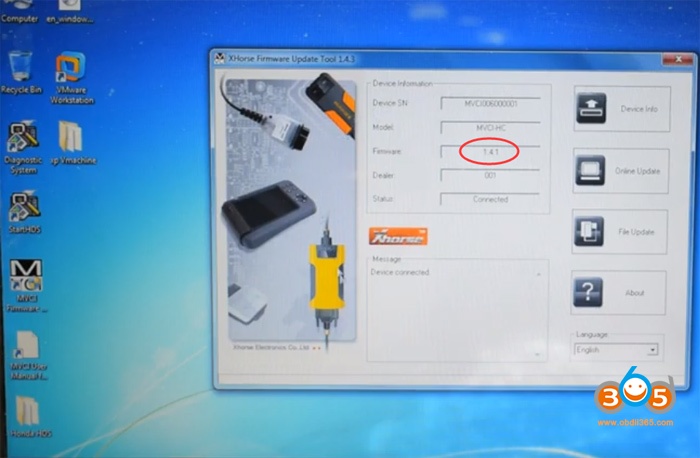
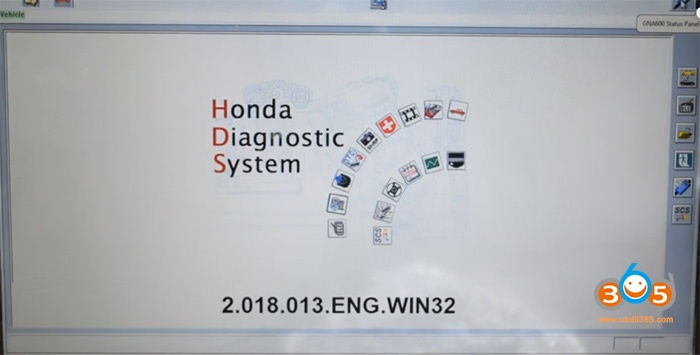
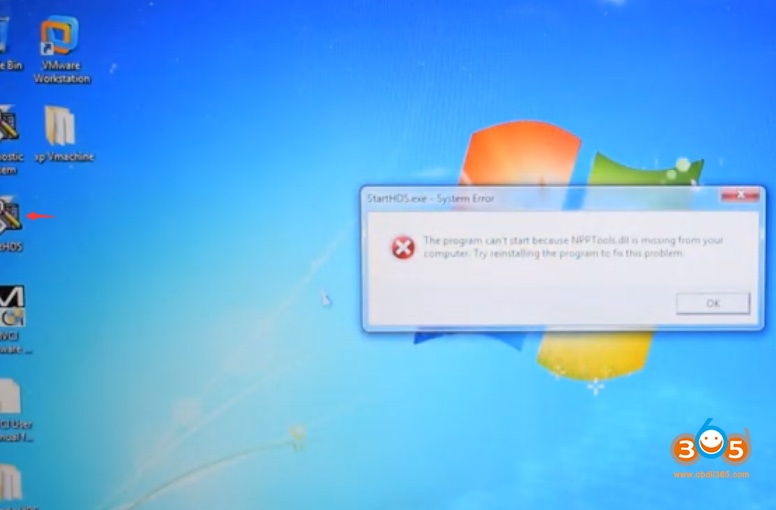
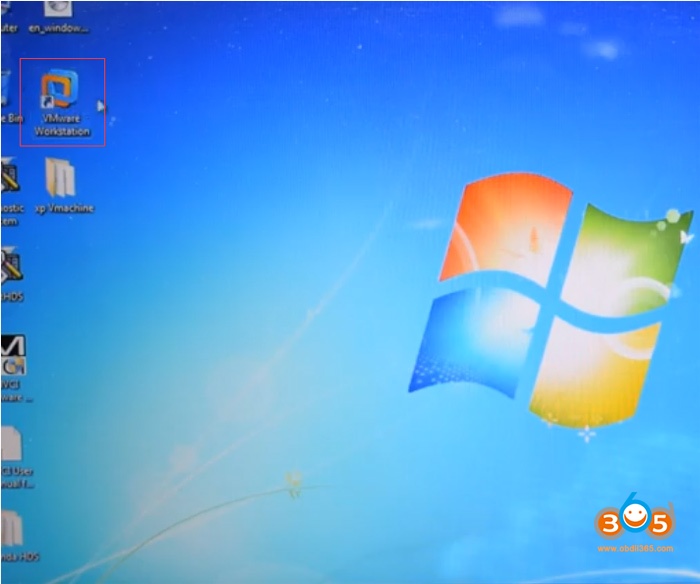
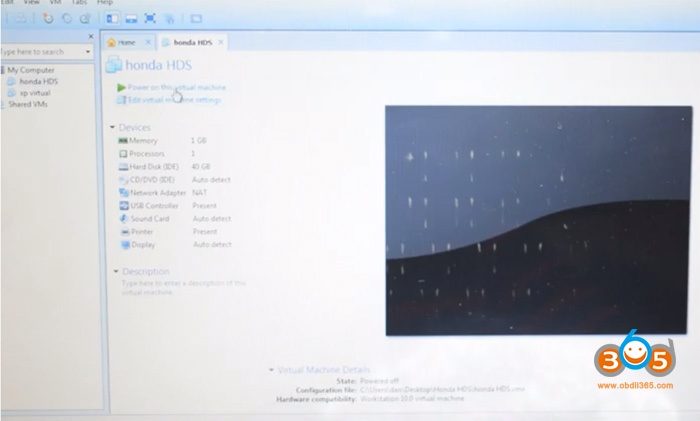
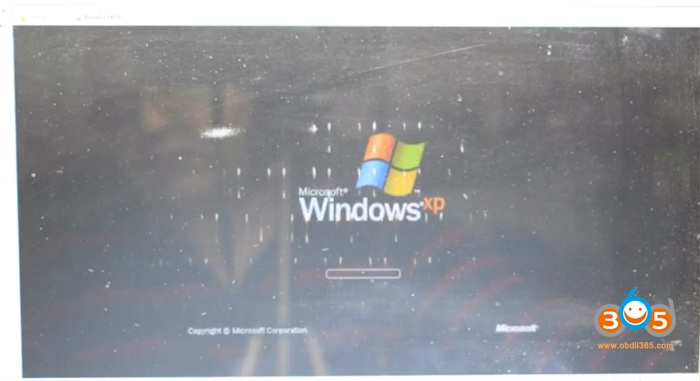
Open software CD
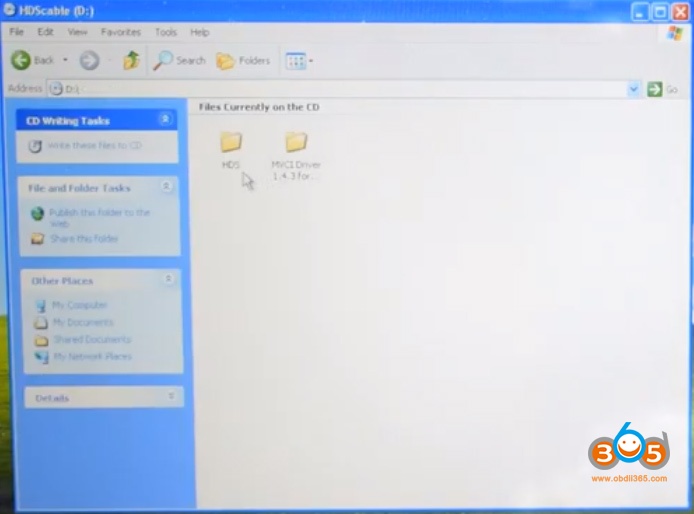
Open HDS folder
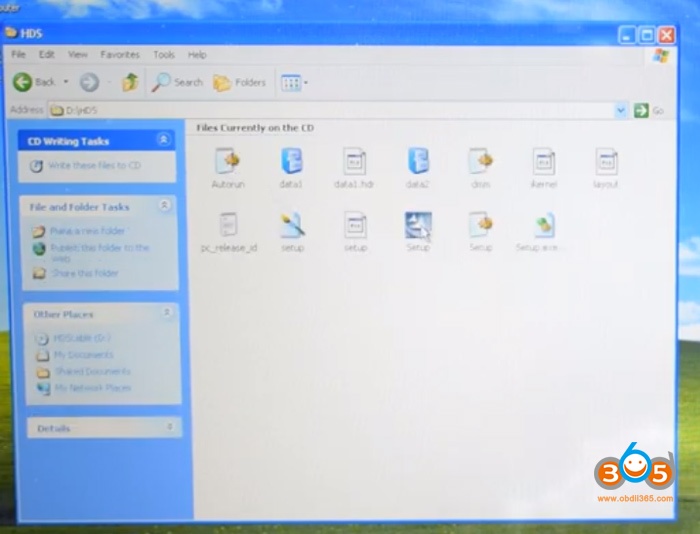
Run Setup.exe
Install Wizard to HDS PC Ver.2.018
Accept license agreement
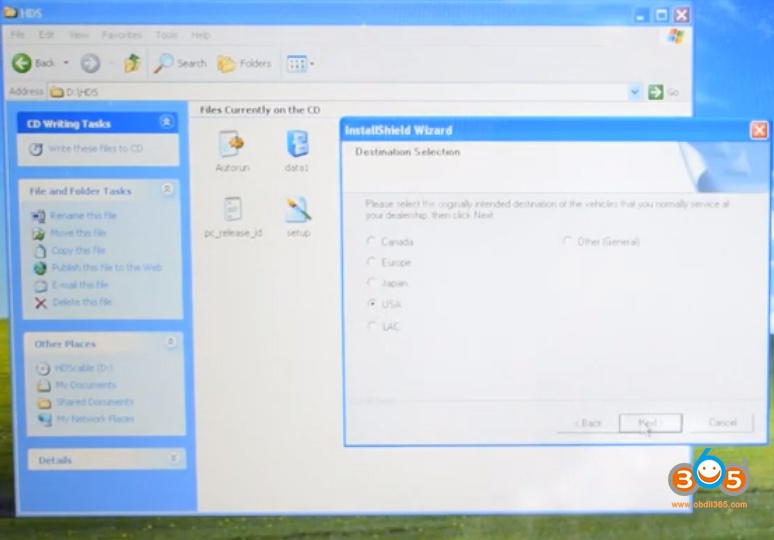
Select deationation, i.e USA
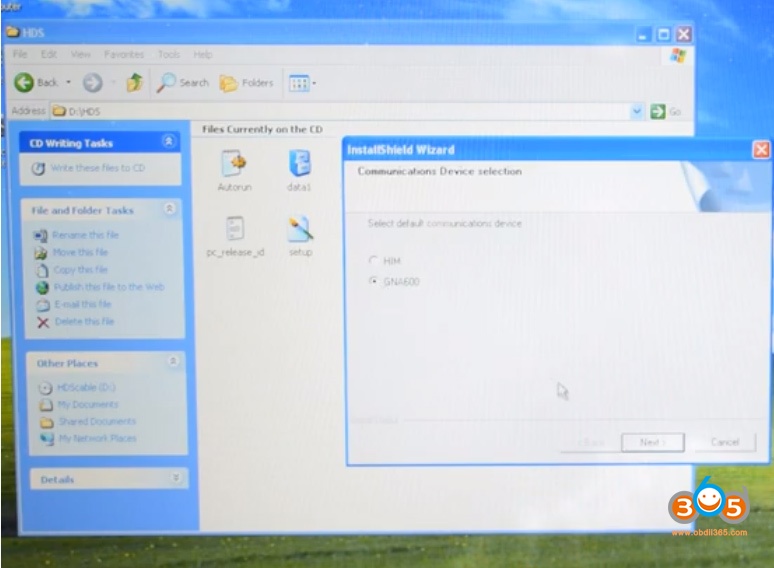
Select communication interface as GNA600
Press OK when system prompts interface device instruction message
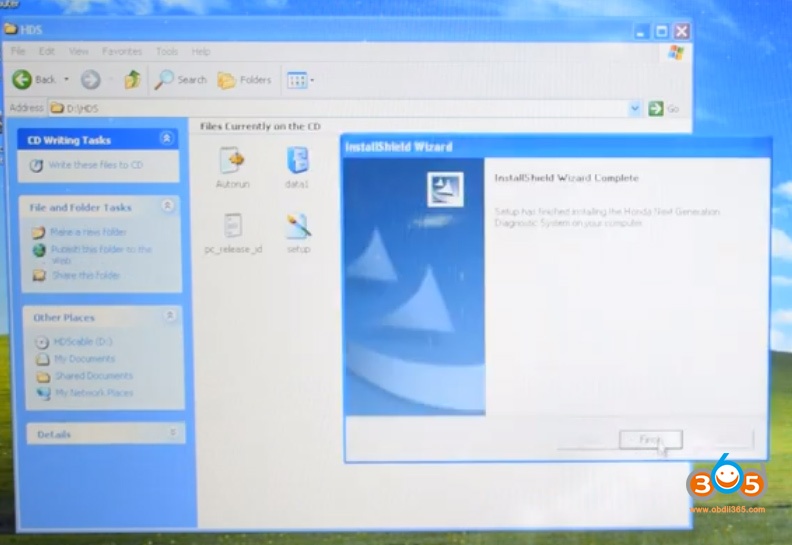
InstallShield Wizard complete
Open MVCI Driver 1.4.3 for HONDA folder

Install MVCI Driver for HONDA

Finish installing MVCI driver
Press Yes to confirm installer information
Run StartHDS to check software version

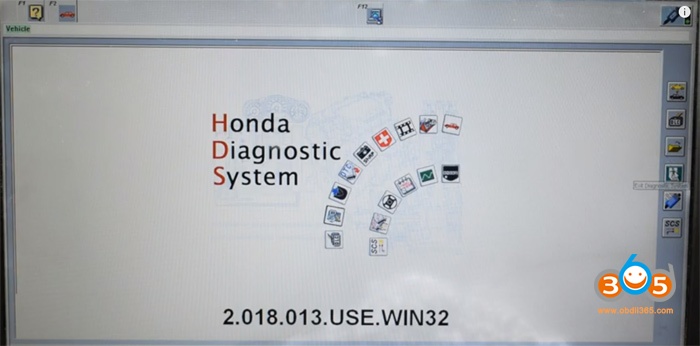
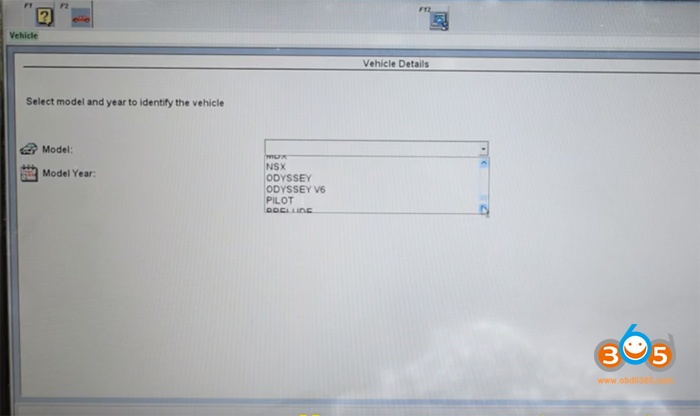

Read Hyundai SANTA FE 2015 PIN and Program Key via OBD
How to read Hyundai SANTA FE 2015 ID47 pin code and program smart key with Autel MaxiIM IM508 (IM608) when all keys lost via OBD.

3-button smart key with ID47 chip
Step 1: Read Pin Code
Select IMMO->Hyundai->System Selection->Read PIN Code-> Read PIN Code (47 Smart Card)


Press the Start button. Turn on the Hazard warning light.
Reading password in progress

Read 6-digit pin code success

Step 2: Program new key
Select Smart Key System
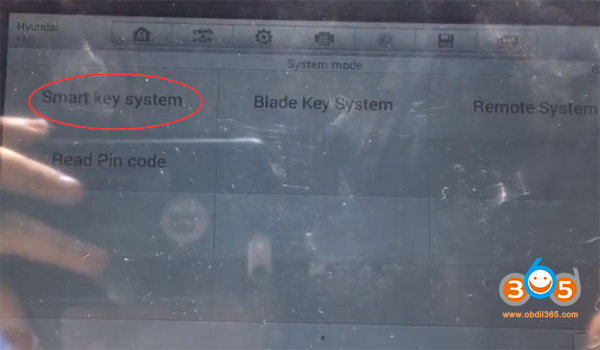
Select smart key type. If don't know which type, try them one by one.
We have tried several types, all failed to communicate. Finally the Smart type 7 (CAN) works.

Choose Immobilizer remote control learning

Press the Start button
Select Smart Key Programming

Perform this function requires all keys to be re-learned.
Turn off ignition Instrument screen is black.
Open and close driver door once.
Autel IM508 asks to enter 6-digit pin code to access.

Manually input pin code and confirm
Click OK to complete the following steps:
Within 5s after OK is pressed, use the back or top of the smart key to hold down the START button for 5s until the immo lamps flash.
(If the operation failed with the prompts, remove the key case and re-execute the above steps so that the key chip can be successfully programmed)


Programming completed.

Test remote control and start vehicle with the new key.
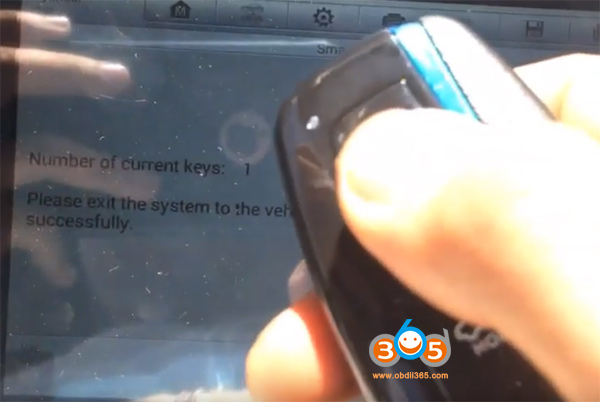

Done.
www.obdii365.com
Possible to Make KKL Cable work with BMW INPA?
Only short the Pin 7&8 from my vcds cable, and use it for bmw?
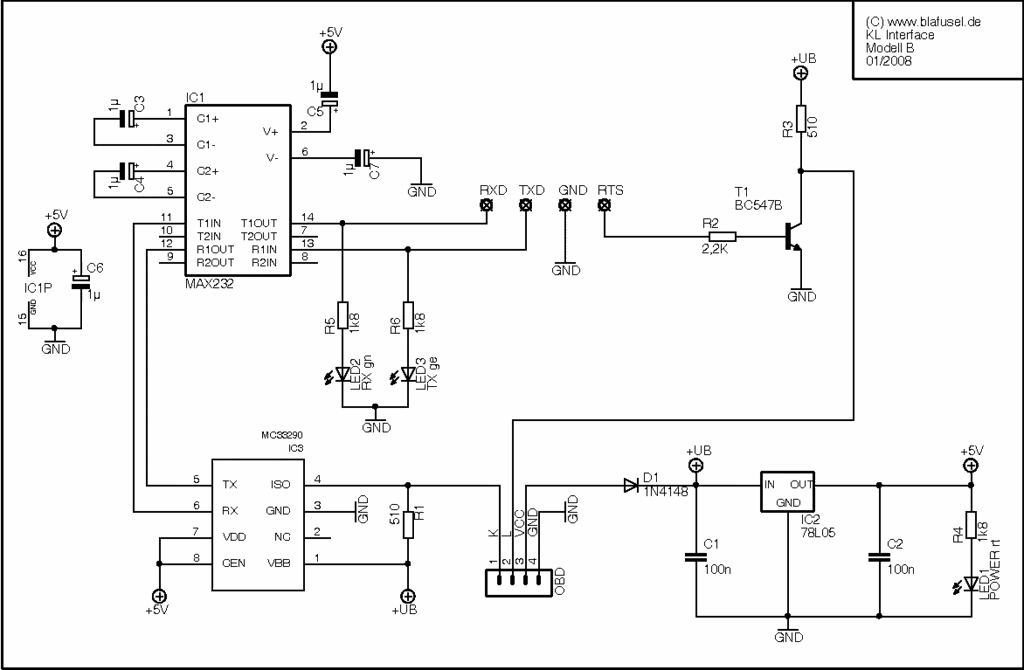

2. uses DTR instead of RTS (pin4 on sub D RS232)
3. Pin 1 of OBD is connected to DSR (pin 6 of a sub RS232) over a 1k resistance (for shorts protection)
4. RS232 RI (pin 9 of sub D RS232) is connected with OBD pin 16 (+ battery feed to detect battery signal) over a 1k resistance (shorts protection, the diod is polarity protection).
Download File to solve Lonsdor KH100 Update Failure


Power off the device and hold the arrow down button, the device will enter “USB mode” interface.
Connect the device to the computer and put those two files into the device.
Reboot the device and you will see a progress bar. The device will be updated automatically.
Check whether the device works or not after updating.
